Bathroom Renovation | Master Bath
Bathroom renovation #2 coming right up. In my last post, I shared the guest bathroom project with you (check it out here). Now that we had a fully functioning bathroom upstairs, we set our sights on the master bath that would complete our master suite.
We Need a Master Suite!
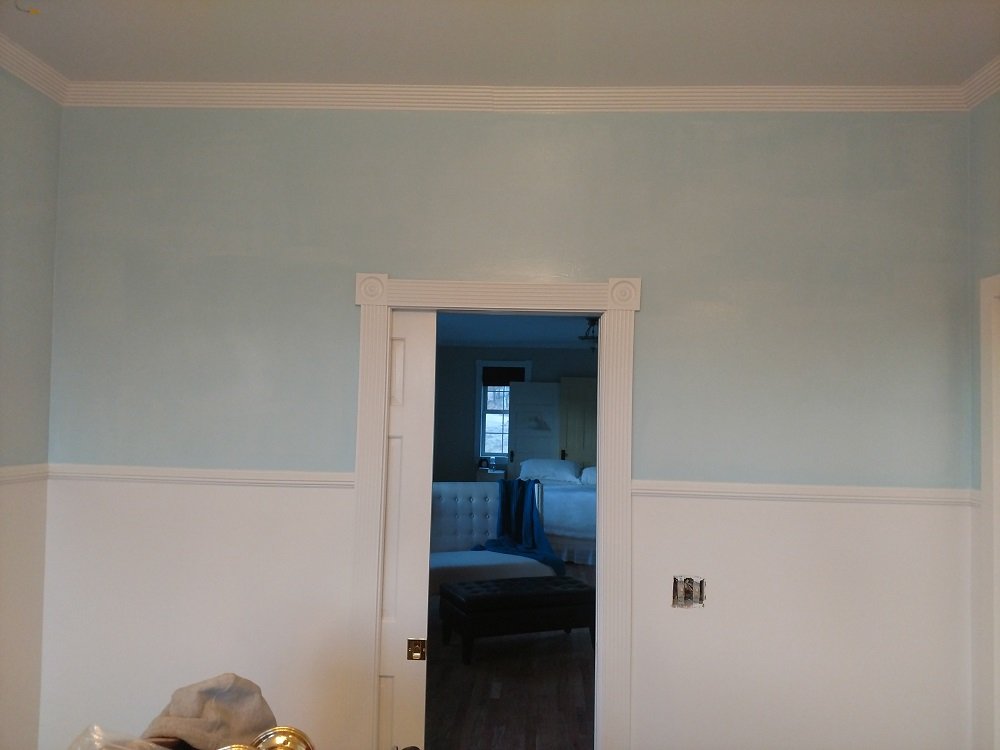
There was only one shared bathroom upstairs when we bought the house and we knew it only made sense to eventually move the upstairs laundry room to the basement and create a new guest bath that would allow us to then create a private master bath. We would install a pocket door in the wall between the main bathroom and our bedroom and close off the original door into the bathroom from the hallway.
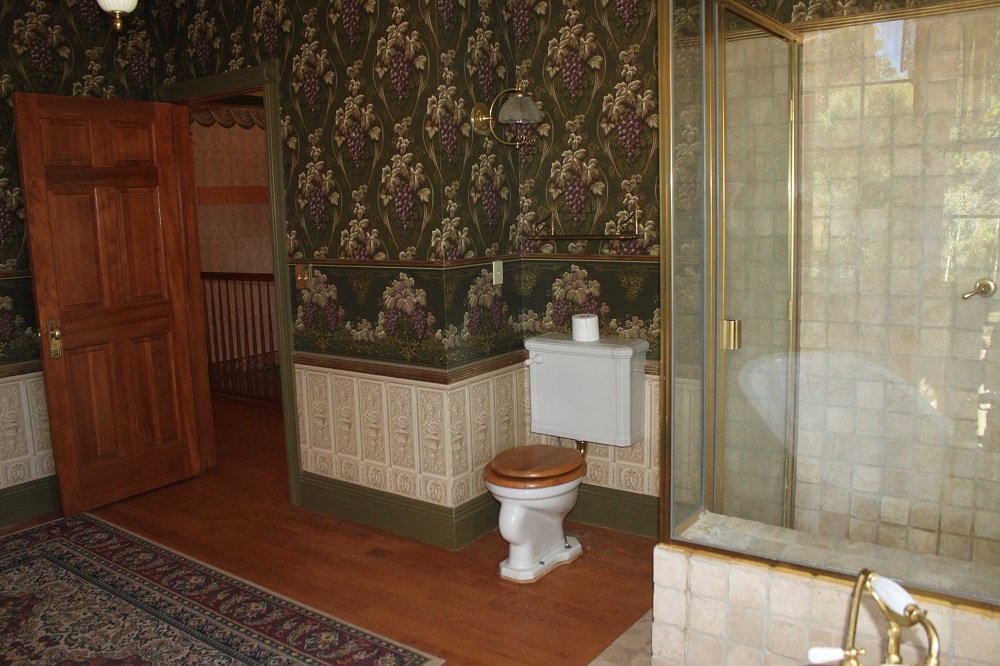
The master bath had a shower and claw-foot tub originally, but the shower made it rain in the sitting room downstairs the first time we used it. That left us with nothing but baths for way too long! We were really glad we had to tear out the entire shower though because once it was demoed, we saw that it had been constructed very poorly, hence the soggy room downstairs! Now it could be installed correctly and we would have complete confidence in its construction and that it was truly waterproof.
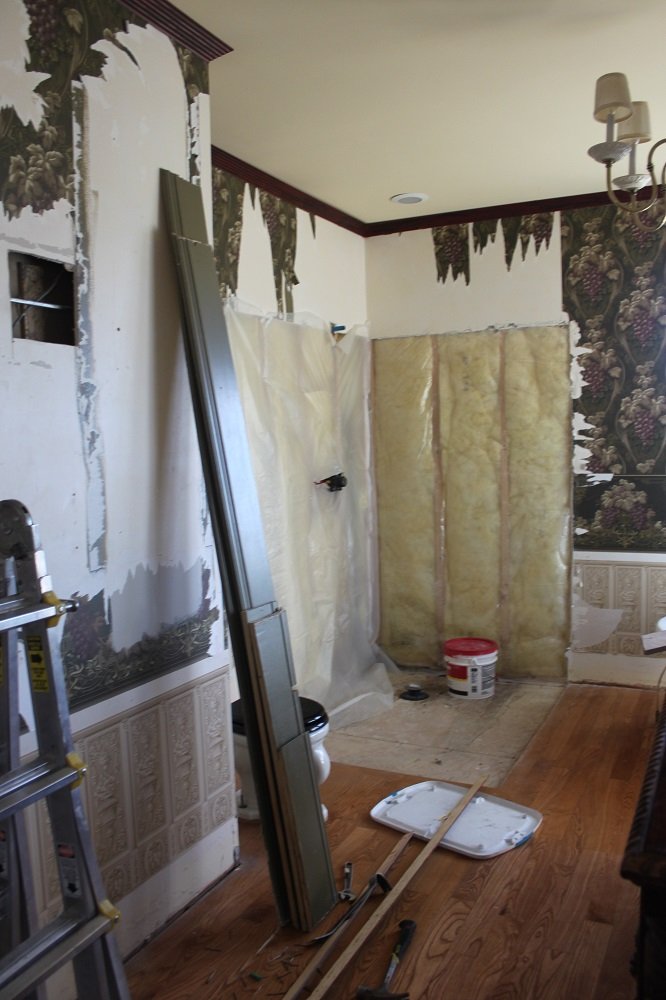
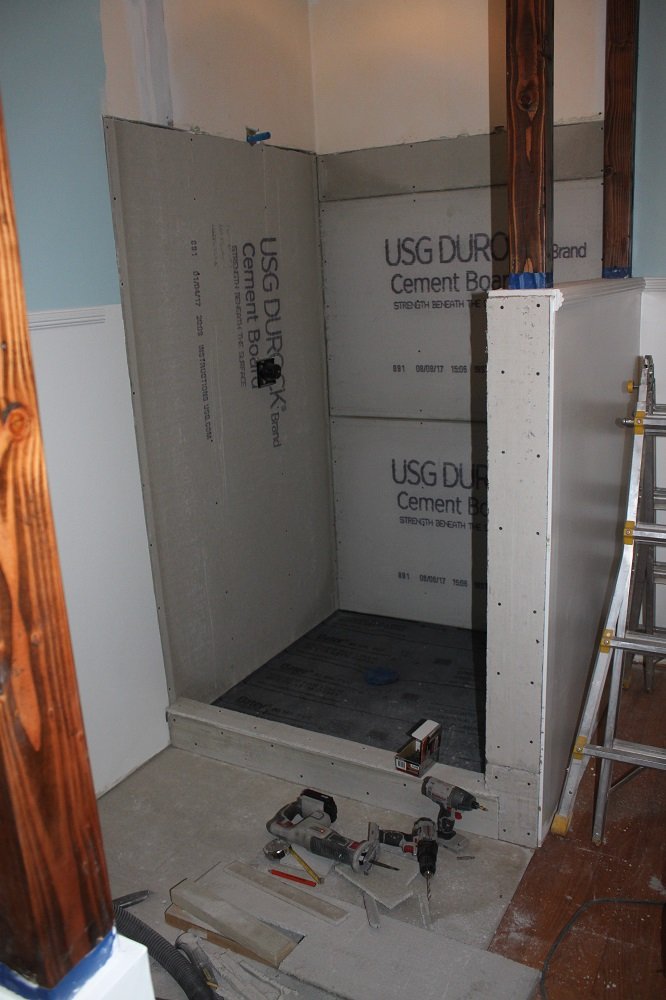
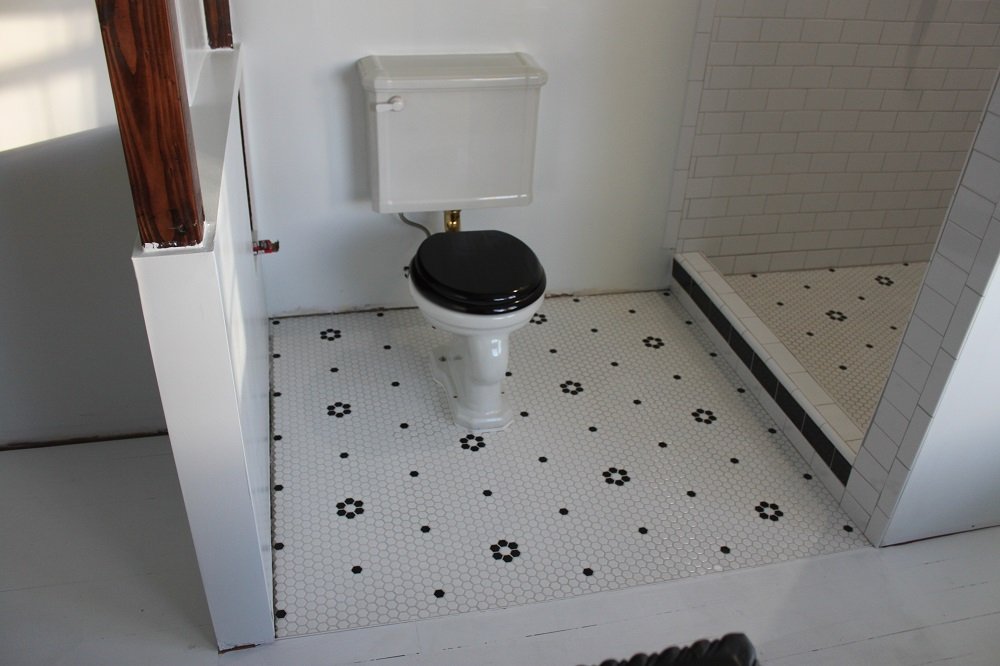
We planned to utilize the original footprint of the bathroom with the shower enlarged just a bit and the tub and toilet remaining where they were. We were able to create a little more space next to the toilet by moving a wall over into a void in the wall giving us a bit more space in that area. A pony wall next to the toilet to block the view of the toilet from the bedroom.
Little Changes | Big Results
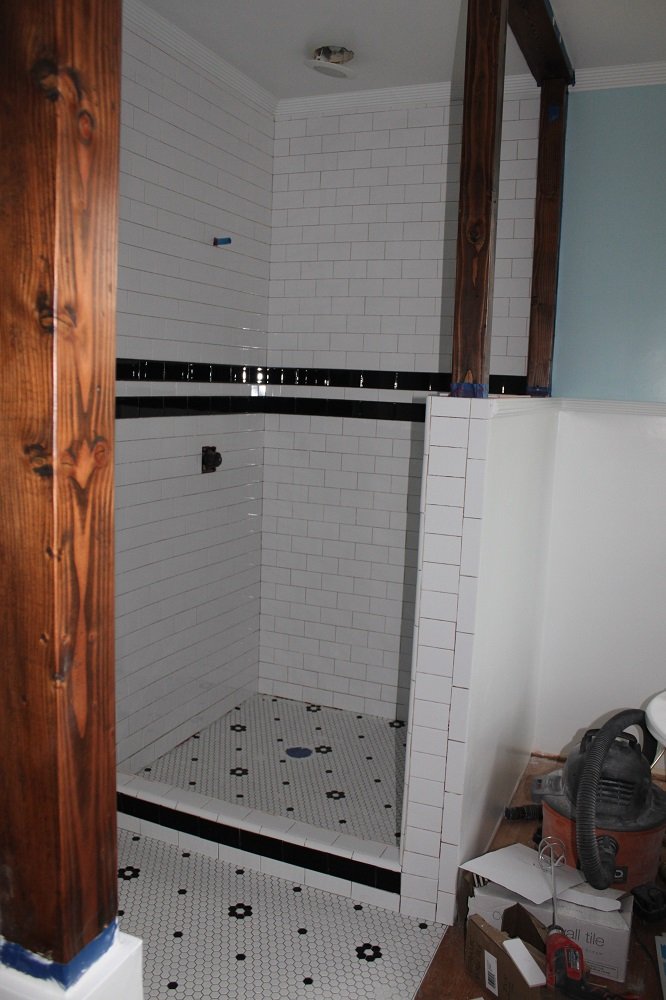
Keeping with the same theme as the guest bath and plans for the downstairs bath, we went with an old-school black and white tile theme, natural wood accents, same light blue and white paint, and not one but two old windows!
You can read about our decisions for these design choices in my last post; we were striving for some continuity among the bathroom designs and were able to save some money by using the same tiles in each space.
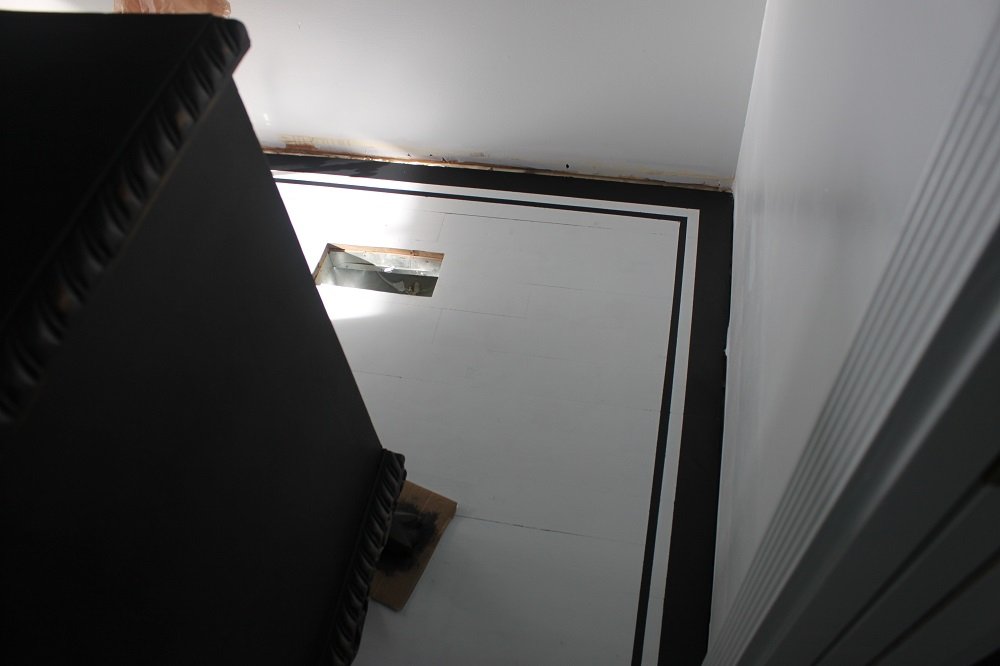
The flooring was fun because we could use the same black and white hexagon mosaic tiles but create different designs in each bathroom. For the master bath, we were only putting tile down around the shower and toilet area of the room. The rest of the flooring was the original red oak wood flooring which we would paint. We loved the painted pantry floor so much, we knew we’d love it here too. And with such a large amount of floor space in this bathroom, painting the existing floor would also be a money saver!
Floors are Fun!
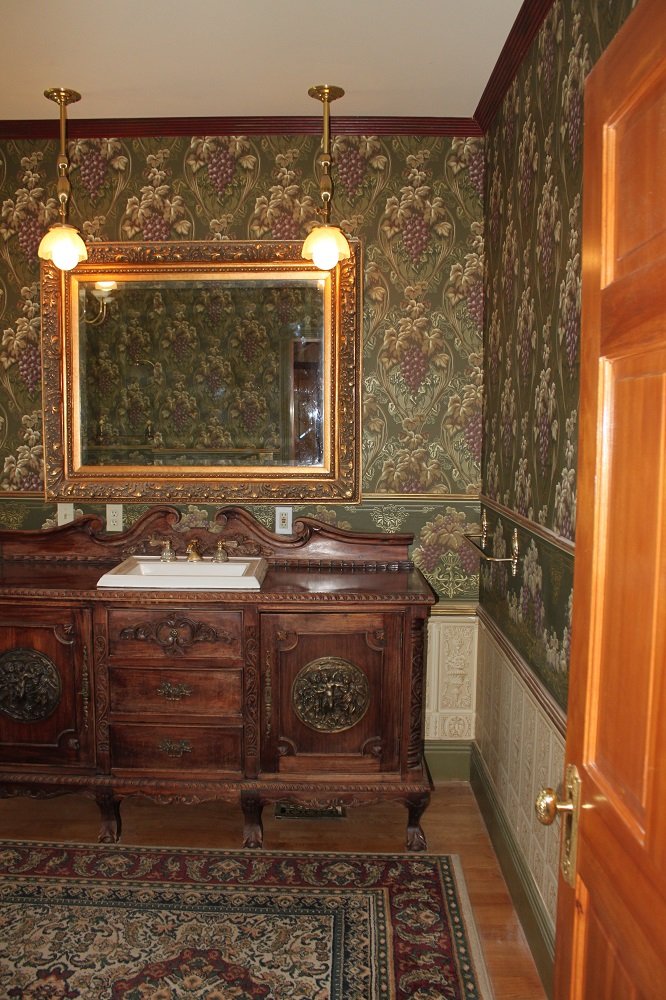
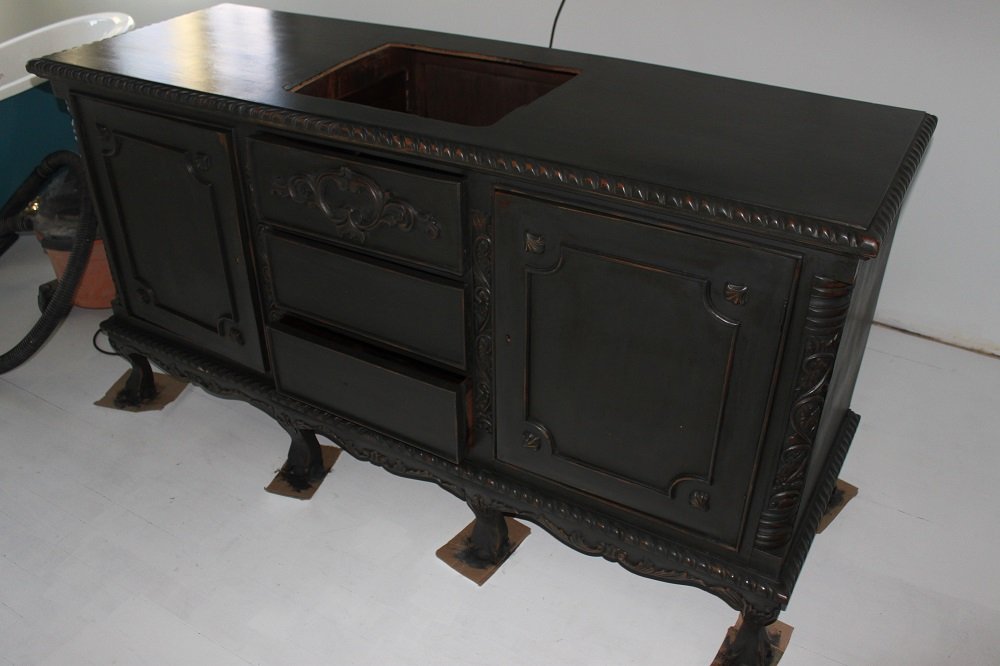
We kept the original antique piece that had been converted to a vanity but it was in need of a facelift. I chalk painted the piece, distressed it a bit to bring the natural wood through in places, and we gave it some new hardware.
From Door to Medicine Cabinet; Why Not?
The last really fun feature we added was to create a floor-length medicine cabinet in the wall where the original door had been closed up. Using the void in the wall, Warren built-in some shelves and we added an antique screen door to the front! We love using architectural salvaged pieces in design; it’s economical, it’s a great way to repurpose cool old stuff, and it suits our style perfectly!
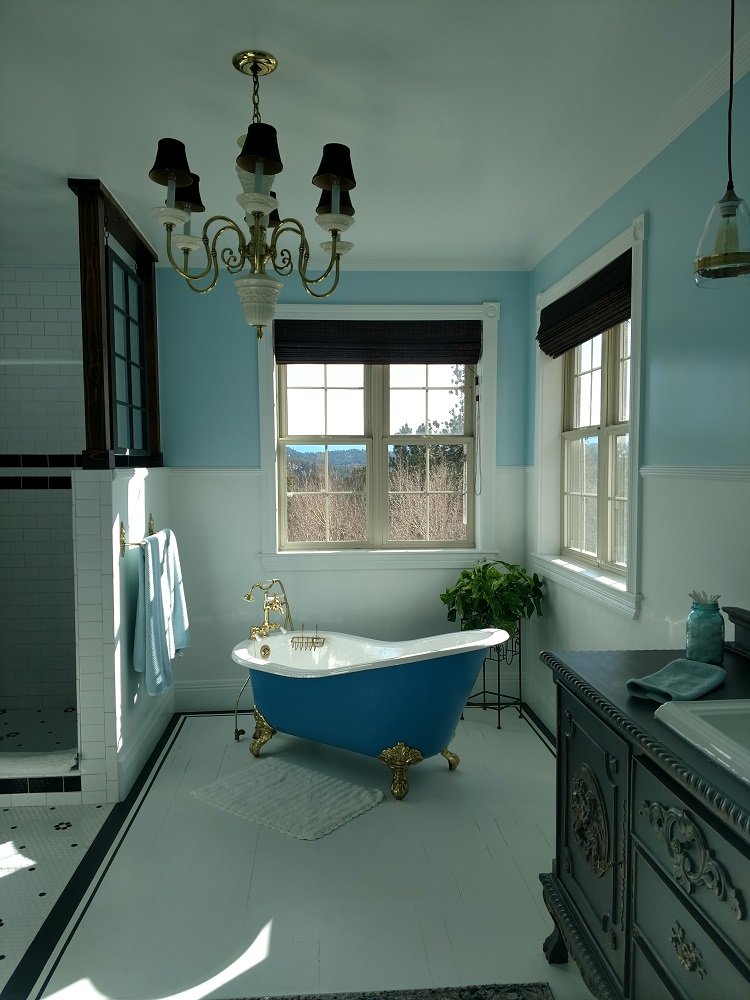
We waited a long time to get this bathroom finished but once it was done, wow! We now had a beautiful and spacious master suite and it was everything we had dreamed of for literally years!
Two bathrooms down, one to go! At least it is the smallest bathroom and we’ll talk about that project next!
{Shelley}
Shelley
I am simply a wife, mom to four (2 humans and 2 dogs), and grandma to three sweet kiddos. I am a humble human working hard to build a stronger relationship with both my God and others; relationships that will prayerfully lead to more people coming to know the Good News of Jesus Christ. I'm learning to spin a little more faith into everything I do, every single day!